
Home Theater Lighting That Keeps the Picture First
No obligation · We aim to respond within one business day
Complimentary phone consultation
Talk it through with a local designer. Written proposal before anyone books a crew.
No obligation · We aim to respond within one business day
Quick answer
Home theater lighting keeps stray light off the screen and lets people walk once the movie is on. Behind a television, use a dim, steady bias wash aimed at the wall. Skip that wash on a projector if it lands on the screen. House lights should dim or switch off during viewing and stay out of the picture. One keypad can close shades, drop the lights, and start the system.
Key points
- A dedicated theater takes ambient light out. A media room keeps windows in play.
- Behind a television, bias light is a dim, steady D65 wash. Skip that wash on a projector if it hits the screen.
- House lights, sconces, cove, and path lights each need a glare check and a dimming check. Keep path lights on whenever the walking route would otherwise be unclear during the movie.
- RGB strips that follow the picture are decorative effects, not reference lighting. Keep them off the accuracy-oriented viewing scene.
- One button can set lights and shades with the display, the sound system, and the sources.
A media room versus a dedicated theater is the first fork, because the two rooms treat daylight differently. After that, the work is layers: surround light at the display, house lights you can bury, path lights on the walking surfaces, and a scene that ties shades to the same button.
How do you keep light off the screen?
Light that lands on the image is the problem. It washes black levels (how dark the dark parts of the picture look), it puts a lamp reflection on glass, and on a projector it is a competing source on the fabric.
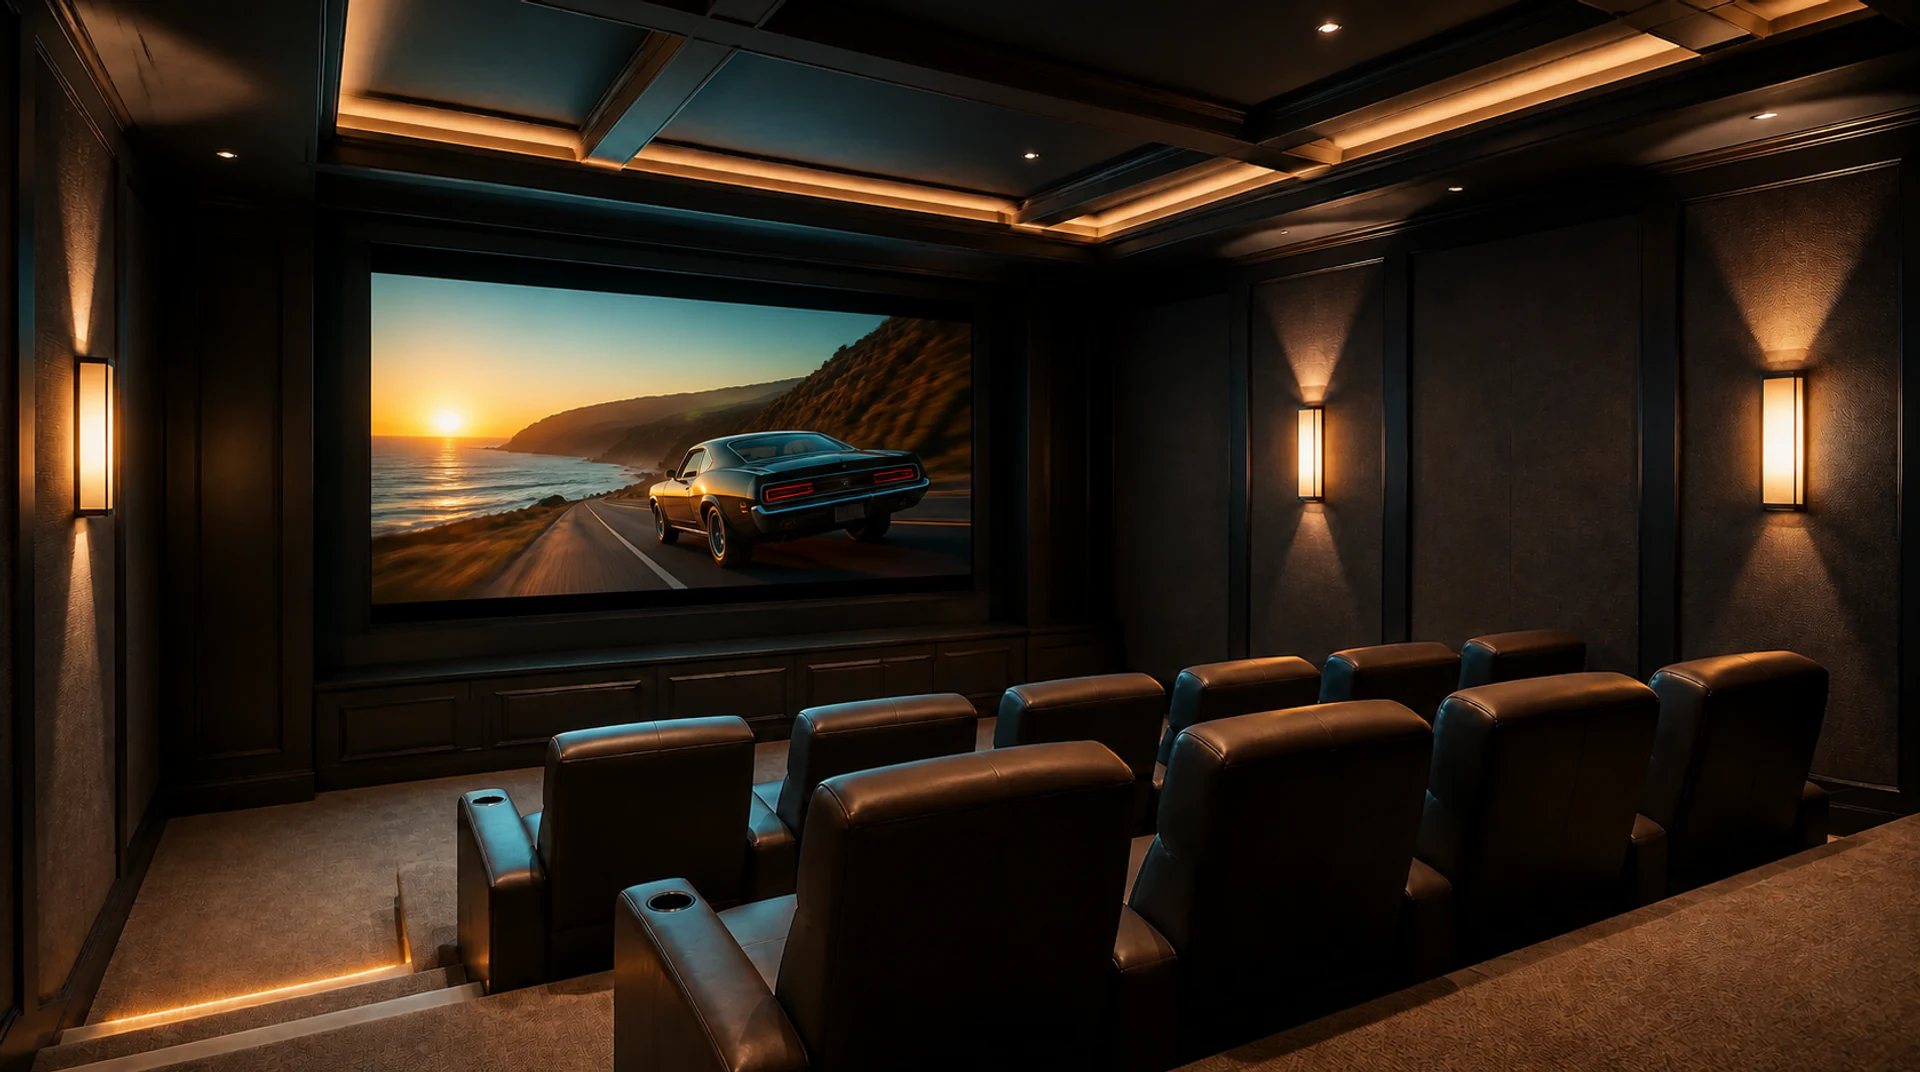
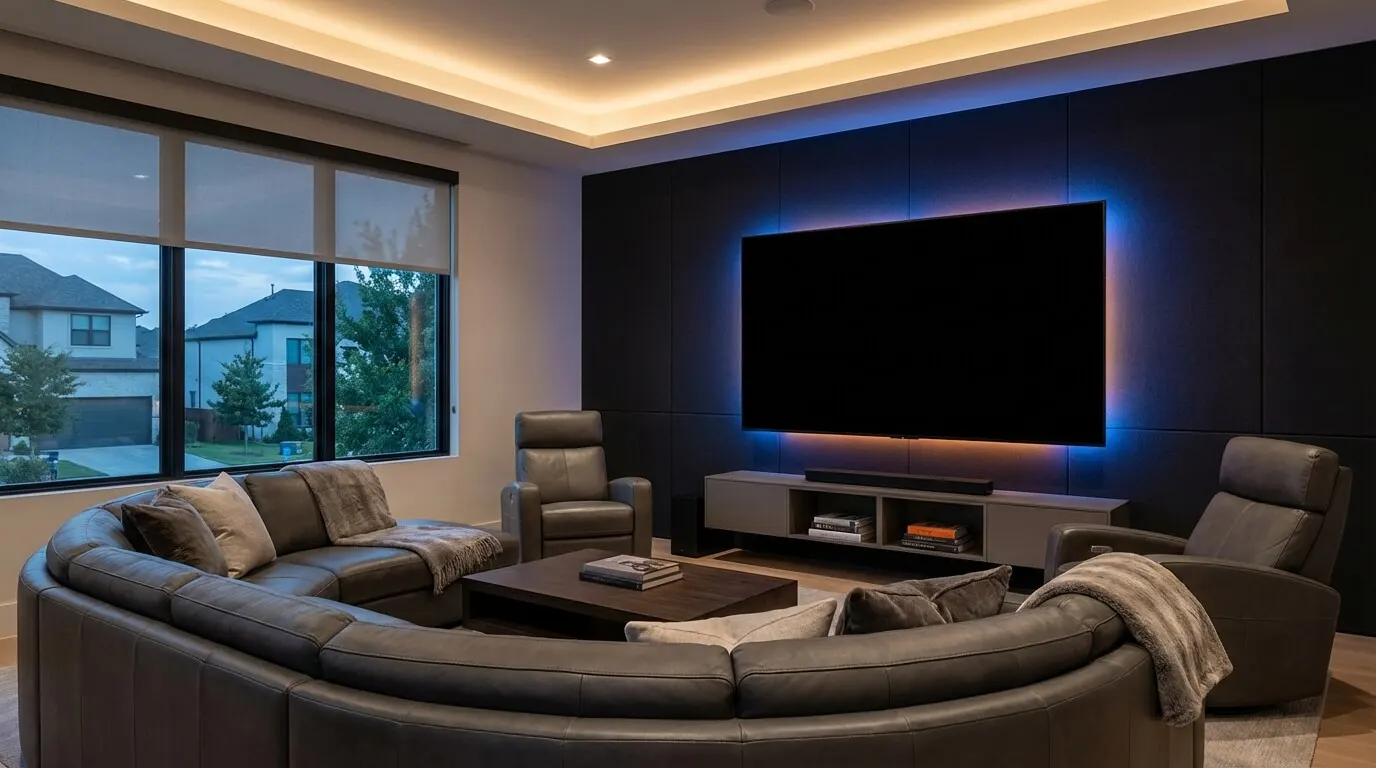
The Home Technology Association draws a hard line for a dedicated room: home theaters are designed to eliminate ambient light entirely. Most of those rooms have no windows, or they use motorized blackout shades. A media room is the other case. Ambient light is acceptable there, windows usually stay, and a flat panel is the usual display because it holds up in a lit space.
So the lighting plan follows the room, not a single fixture list. In a dedicated theater you take daylight out, then you take the house lights down until they are no longer in the picture. In a media room you still aim lamps away from the screen, but you do not pretend the room is a black box.
CTA/CEDIA-CEB23-B puts room lighting in scope for home-theater video design, along with coloring for walls, ceilings and carpets. Treat wall and ceiling color as part of the lighting plan. A bright white soffit (the underside of a ceiling overhang or tray) next to the screen will bounce whatever you leave on.
Before you pick sconces, sit where the seats will be. The seating layout sets the sightlines. A lamp that looks harmless from the doorway often sits in the picture from row two.
If a fixture is visible as a bright point in the image, it is in the wrong place. Move it, baffle it, or take it off the movie scene. Do not dim a bad location and call the job done.
What is the light behind the display for?
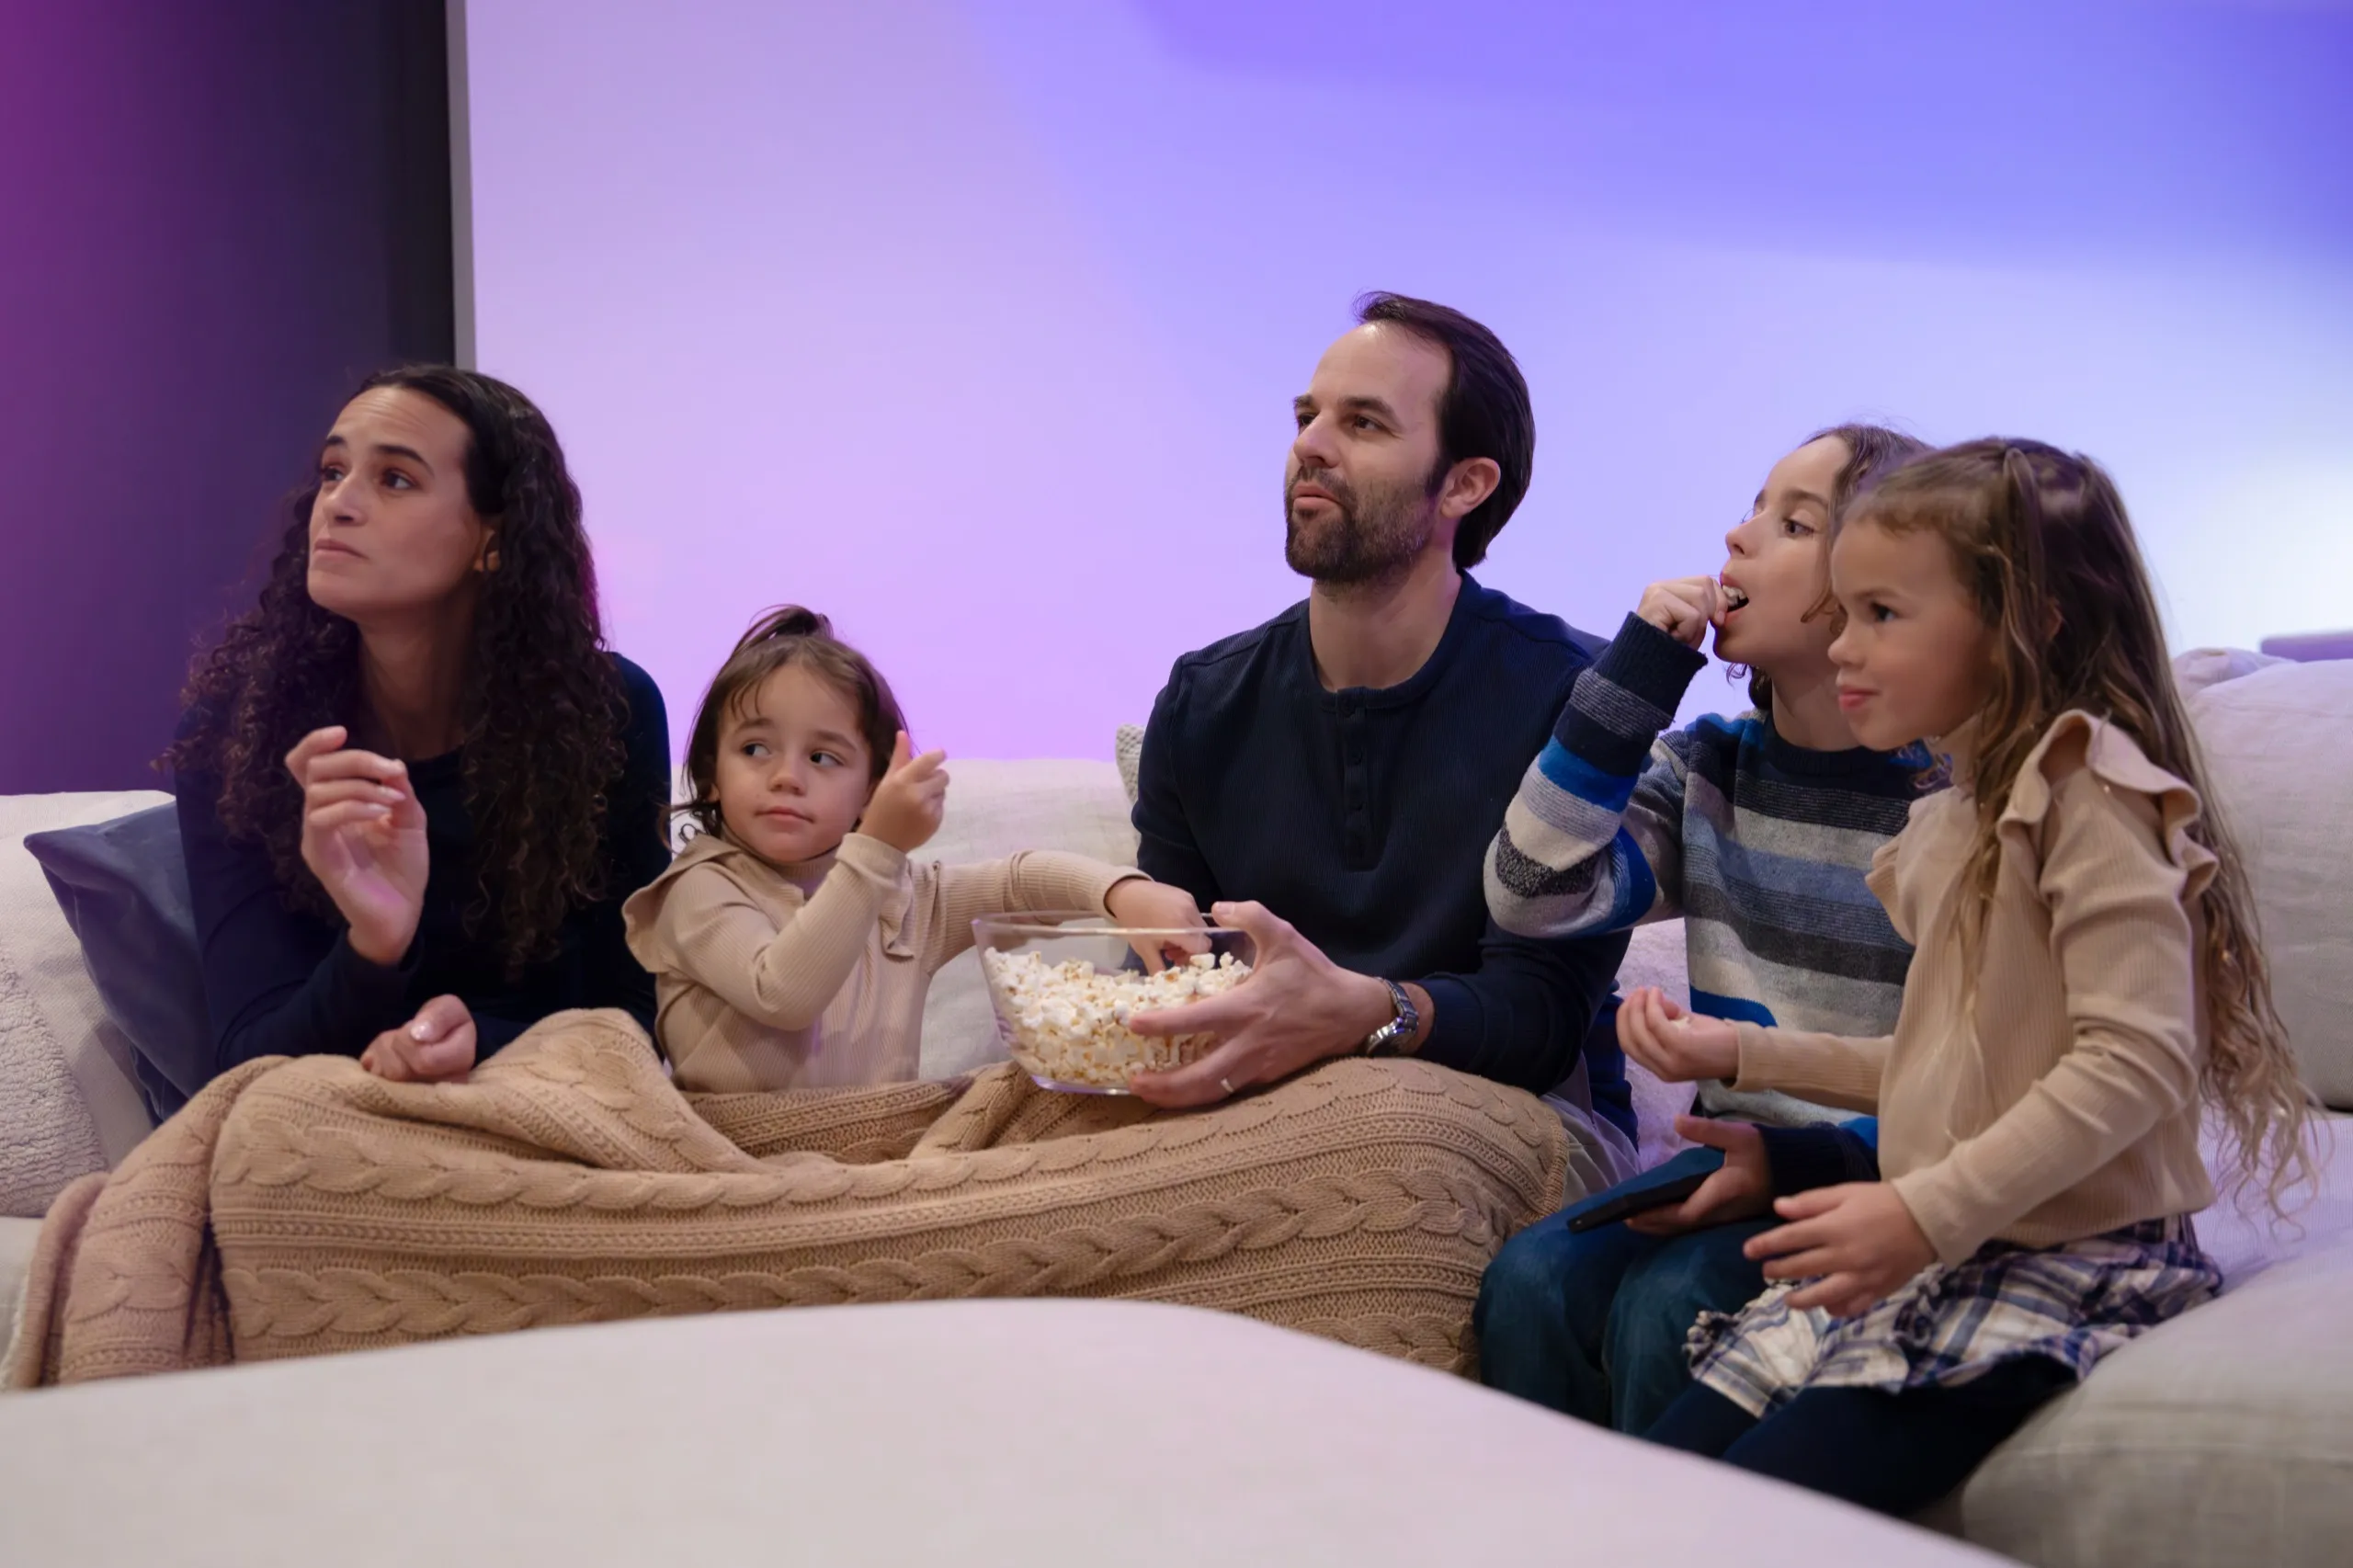
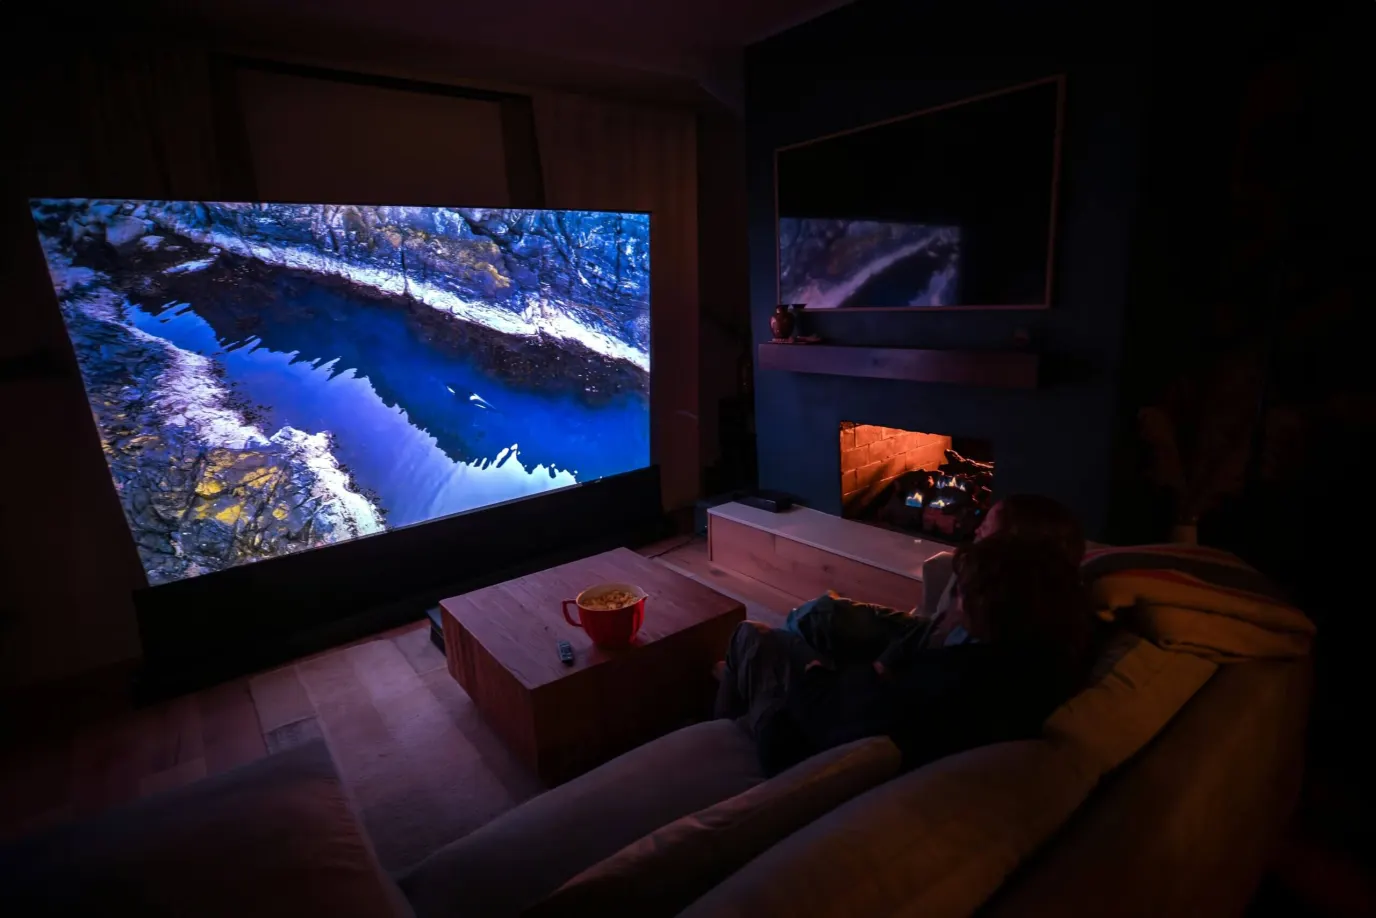
Bias lighting, also called surround light, is a dim wash behind or around the display so the rest of the wall is not a black hole. The job is comfort and a stable frame around the picture.
Color-accurate viewing and decorative lighting are different jobs. MediaLight makes D65 (6500K) bias lights. D65 is the reference white for accurate video viewing. MediaLight tells buyers who want accuracy, or who just want the picture to look right, to stick to D65 white. The same page says color-changing lights alter how you see on-screen color, and that those products are rainbow wall decor, not a viewing surround. If you want a strip that tracks the picture — RGB, meaning red, green, and blue color-changing light — put that effect on a different button so a movie scene cannot leave a color wash running.
Keep the wash off the screen. On a television, MediaLight’s Mk2 instructions put the strip about 2 inches from the TV’s edge, with the LEDs facing the wall. Two placement checks come first: the strip stays aimed at the wall, and the LEDs are hidden from the seat. Brightness is a separate adjustment; set it low enough that the wash does not draw your eye from the picture. Dimming sets level. It does not fix a strip that is in the wrong place or still visible.
MediaLight also says bias lights should be the only light source in the room besides the display, because other lights reduce how well the surround works. Low path lighting is often still necessary so people can walk. Keep that path light aimed at the floor, off the wall behind the set, and as dim as the walking test allows.
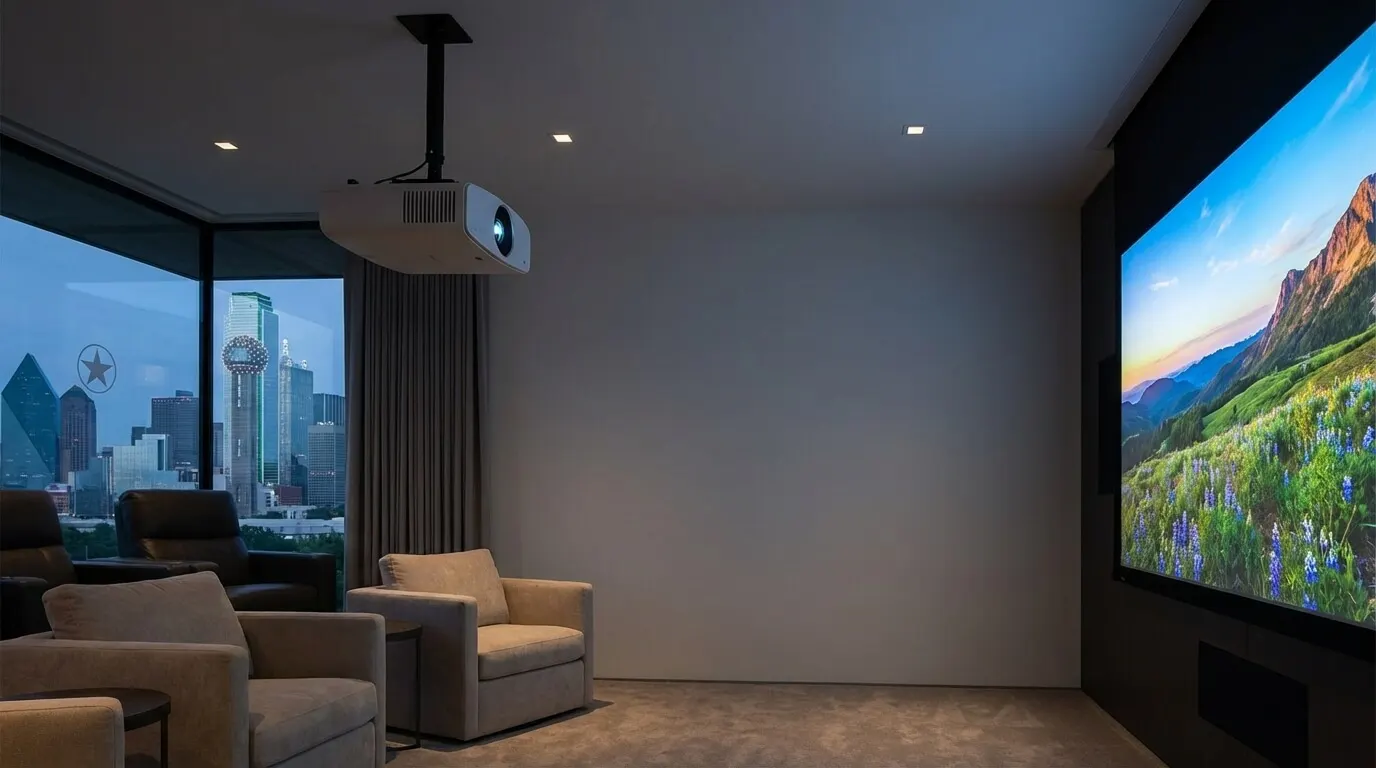
On a projector, light that wraps the frame and lands on the fabric is just more wash. If you cannot hide the source and keep it off the image, skip it.
An adhesive-backed bias-light strip installed according to its instructions is a reasonable DIY job when you can hide it and dim it. Skip a strip that is bright, patchy, or aimed into the room.
Complimentary phone consultation
Planning a theater or media room?
Tell us the room and how you like to watch. The first step is a phone call with no obligation, and the written proposal is yours to keep.
No obligation · We aim to respond within one business day
Where should the room lights go?
House lights are the overheads and pendants, plus any downlight that can see the seating. During a movie they should dim or switch off, and the lamp itself is best kept out of sight from the seats. A baffle is a shield around the lamp so you see the light on the floor or wall, not the source. Recessed cans with an open lamp pointed at the screen are the usual mistake. Change the trim, move the fixture, or keep that circuit off during a movie.
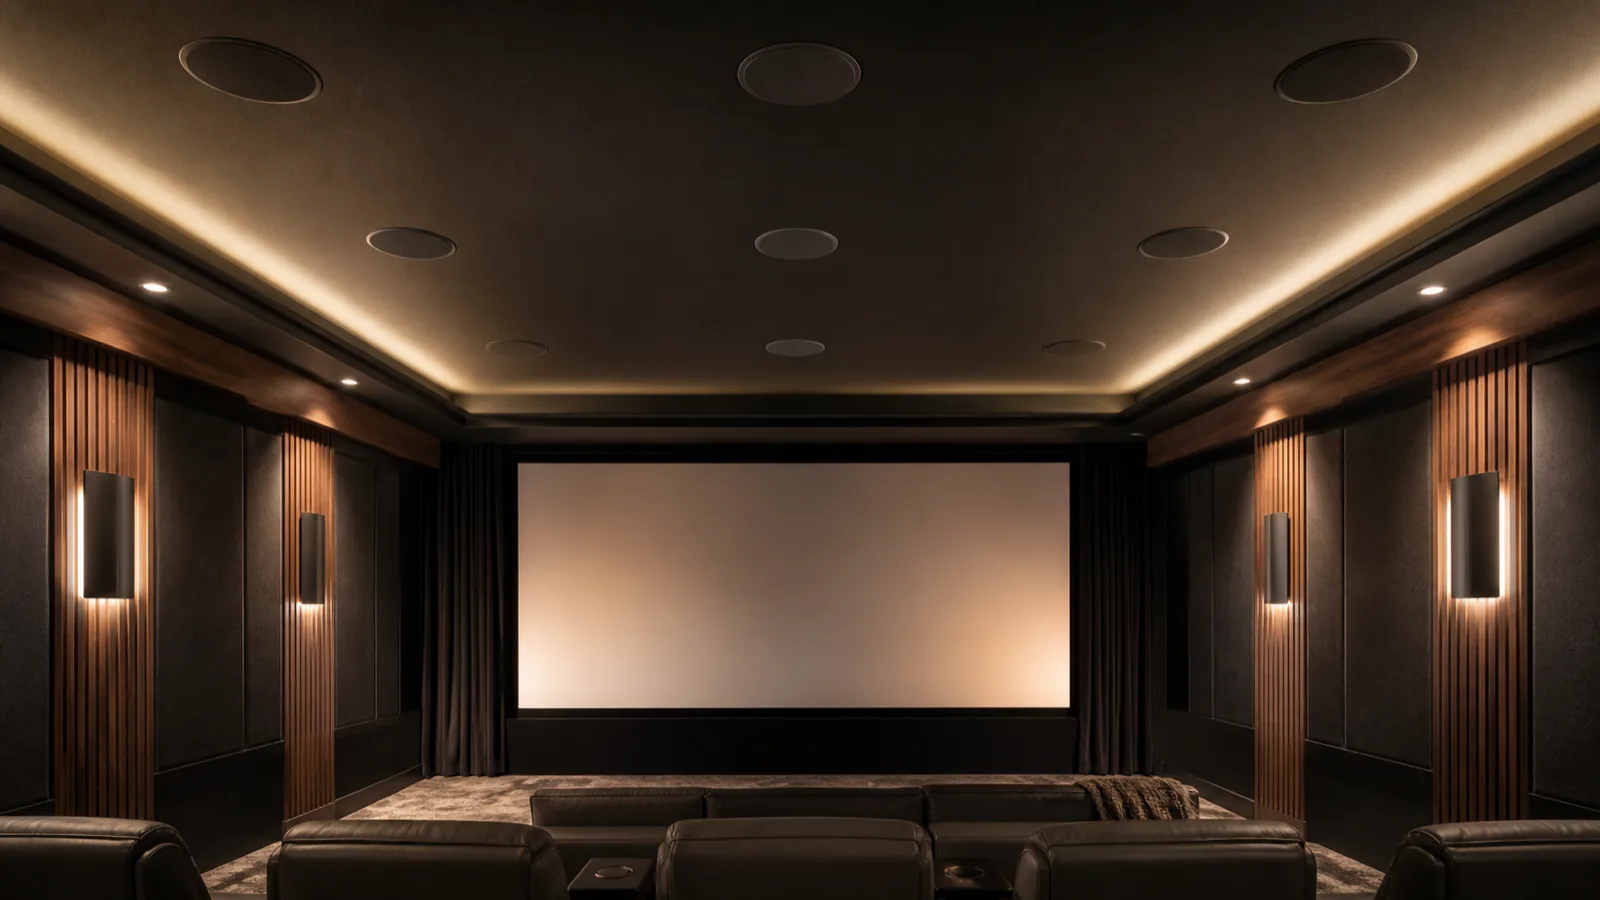
Sconces usually work best on side walls, outside the picture, with the lamp hidden and the wash aimed at the wall rather than the screen. Sit in the main seat with the scene on: if you can see the bulb from there, expect it to draw your eye during a movie, and change the trim or the position.
Cove lighting is a hidden strip in a ceiling tray or soffit, so you get the glow without seeing the source. Lutron HomeWorks lists tape light for accent and cove work. RadioRA 3 lists Lumaris tape light in tunable white and RGB + tunable white configurations. The tunable-white channels let you adjust warmth separately from the colored light. Use cove when you want a soft perimeter you can take almost to off. Skip it when the tray would bounce onto the screen.
These ratings apply to the named Lumaris products. Lutron rates its Lumaris 3-inch downlight (CD4-WH-TW) for tunable white from 1,800K to 4,000K and flicker-free dimming down to 0.1%. Lutron’s Lumaris tape light sheet gives the same 1,800K to 4,000K range and flicker-free dimming down to 0.1% for that tape, not for tape light as a class. If deep dimming matters, check the fixture and the dimmer as a pair.
Digitalholics describes its aim for mixed-fixture scenes this way: dimming happens at the load, so incandescent, LED, and low-voltage fixtures on the same scene dim together as one scene. That result depends on compatible fixtures, drivers and controls, correct loading, and the low-end adjustment made during commissioning. The load is the fixtures and drivers a dimmer is actually driving. Mixed fixture types are not the only flicker cause. Lutron’s LED load application note lists insufficient load and electrical noise among the causes, including flicker on dimmers wired to separate loads, and concludes that only testing can determine the actual minimum and maximum load needed for a particular lamp and control. Check fixture and driver compatibility, dimmer selection, loading, and the low-end setting before you keep a movie scene.
Keypad scenes and the dimmers behind them are Lutron lighting control work. The wireless Lutron line replaces existing switches and adds battery-powered Pico remotes and keypads without opening walls. A new-build is the time to place the keypad boxes and the lighting closet while the walls are open.
An evening scene is set in the evening; it cannot be judged at noon.
How should steps and aisles be lit?
Step and aisle lights illuminate the walking surfaces.
Point them at the tread or the walking line. Shield them so they do not throw into the screen or into someone’s eyes in the row below. On a single-level floor a low wall wash or a few shielded pucks on the path can be enough. On a riser, plan the lights with the steps, not after the carpet is in.
Test in the actual room with the movie scene active, not with the house lights still up: bright enough to see the next step, dim enough to forget the lamps once you sit.
In a small, flat room, battery puck lights can be a DIY option if you check that they light the walking path without shining toward the seats. They are a poor substitute for a riser that was built without a path in mind. If the seating layout uses a step, put a lighting circuit on that step while the framing is open.
Motion-on path lights that jump to full output will pull your eye off the picture. Control4 describes motion sensors that light a restroom or kitchen in the middle of the night. If you use occupancy sensors in the theater, give them a night level and keep them off the screen wall.
What should one button do when the movie starts?
Shades close if there are windows. House lights drop. Path lights stay at the walking level you already checked with the picture on. Surround light, if you use it, holds a dim steady level. The display and the sound come up. Lights, shades, and the AV equipment (the display, the sound system, and the sources) belong on one button so guests are not handed a pile of remotes.
Example: Lutron HomeWorks describes a viewing-experience press that closes the shades, dims the lights to darkness, and lets surround sound fill the space. Write those actions into the keypad scene, then check them in the dark room: shades closed, house lights down, path lights at the walking level, surround light steady if you use it.
Control4 describes a keypad scene that turns off the lights, turns on the home theater, and starts a streaming app. Which platform owns that button is a Control4 versus Lutron decision. The Lutron dealer page covers Lutron keypads, dimmers and shades if lighting control is the priority.
| Layer | Placement | During the movie | Glare check | Dimming check | Skip when |
|---|---|---|---|---|---|
| Bias / surround | On a TV, on the back of the panel, about 2 in from the edge, LEDs aimed at the wall (MediaLight Mk2) | Dim, steady D65 if you want a matched white (MediaLight FAQ) | Source hidden from the seat; no wash on the image | Dimmable; stays on while you watch | The display is a projector and the wash hits the screen |
| House lights | Overheads and downlights kept out of the picture | Off or near off | No bright point in the image | Fixture, driver, dimmer, load, and low-end checked (Lutron LED load note) | The fixture sits in the picture and cannot be baffled |
| Sconces | Side walls, lamp hidden, wash on the wall | Off or very low | No bulb visible from the main seat | Same dimming check as house lights | The fixture lands in the picture from the seats |
| Cove | Hidden in a ceiling tray or soffit | Soft perimeter, almost off | Check that the tray does not bounce onto the screen | If you use Lumaris tape, that sheet rates 1,800K–4,000K and flicker-free dimming to 0.1% (Lumaris tape specification) | The tray would wash the screen |
| Steps and aisles | Aimed at the tread or walking line | Stay at the walking level you checked | No throw into the screen or the row below | Night level if motion is used | The walking route stays clearly visible with the movie scene active |
Checklist before you rough-in or order fixtures
- Mark every lamp that can throw onto the screen or into a projector lens.
- Decide which house lights and sconces share a dimming scene, and whether cove joins them.
- Plan a walking path that stays lit when the picture is dark.
- Put shades on the same button as the movie scene if the room has glass.
- Engrave the button with the name the household will actually say.
- Set the evening scene at night. Use the scene for a week, then review the levels.
In many media rooms, a dimmer that is compatible with the installed fixtures, plus a bias strip and blackout shades you pull by hand, covers the basics. A control system earns its place when the same button has to set the lights and the shades with the display, the sound system, and the sources.
What should you decide on a different page?
Related reading: the home theater design guide for room, display and seats, and media room versus dedicated theater for whether the space stays a living room.
When to call an installer
Call when the room needs more than a strip stuck to the back of a TV: blackout, baffled house lights, path lights on a riser, and a button that also drops shades. That is home theater work. Dimmers and scenes without a full AV rebuild are lighting-control work.
Start with a complimentary phone consultation. An in-room assessment is a later step if the project is a fit.
FAQ
Do I still need path lights if the floor is flat?
Separate path fixtures may be unnecessary if the walking route remains clearly visible with the movie scene active. House lights that go off or near off during the movie do not count. Check the path after the scene is running, not with the room still lit.
Can path lights stay on if I also use bias lighting?
Yes, if people need to walk. MediaLight says other lights reduce how well the surround works. Keep path light on the floor, off the wall behind the set, and as dim as the walking test allows. Do not treat path light as a reason to skip the surround, and do not treat the surround as a walking light.
Sources
- CTA/CEDIA-CEB23-B, Home Theater Video Design. The catalogue page names room lighting and coloring for walls, ceilings and carpets.
- Home Theater vs. Media Room, Home Technology Association
- Lutron HomeWorks
- Lutron RadioRA 3
- Lumaris Tape Light specification
- Lutron LED load application note
- Control4 smart lighting
- MediaLight FAQ
- MediaLight Mk2 v2 installation
Sources
- Lumaris 3-inch Remodeler Recessed Downlight (CD4-WH-TW) — Lutron (opens in a new tab) — accessed September 30, 2026
- Home Theater Video Design — CTA/CEDIA-CEB23-B (opens in a new tab) — accessed September 30, 2026
- Home Theater vs. Media Room — Home Technology Association (opens in a new tab) — accessed September 30, 2026
- HomeWorks Home Automation & Lighting System — Lutron (opens in a new tab) — accessed September 30, 2026
- RadioRA 3 Wireless Home Lighting Control System — Lutron (opens in a new tab) — accessed September 30, 2026
- Lumaris Tape Light specification — Lutron (opens in a new tab) — accessed September 30, 2026
- Application Note #487 — Lutron (opens in a new tab) — accessed September 30, 2026
- Smart Lighting Control & Automation for Every Room — Control4 (opens in a new tab) — accessed September 30, 2026
- Frequently Asked Questions — MediaLight Bias Lighting (opens in a new tab) — accessed September 30, 2026
- MediaLight Mk2 v2 Installation Instructions — MediaLight (opens in a new tab) — accessed September 30, 2026
Complimentary phone consultation
Ready to plan your own theater?
We cover the room, the screen and sound you want, and what a professional design and calibration involves. Then you get a written, line-item proposal before anyone books a crew.