
Home Theater Seating Layout: Distance, Rows, Risers
No obligation · We aim to respond within one business day
Complimentary phone consultation
Talk it through with a local designer. Written proposal before anyone books a crew.
No obligation · We aim to respond within one business day
Quick answer
Put the primary seat on the screen centerline with the viewer’s eyes at 1.5 times the screen diagonal. That is Dolby’s starting distance. A second row fits only if the rear-row sightline to the image bottom clears the front head and headrest, and an access path still works with the chairs fully open.
Room type and finishes are a separate decision. Screen size from a seating distance you already have is a calculator, not this layout.
Key points
- Put one reference chair on the centerline at Dolby’s starting distance before you count rows.
- Check room width and room depth as two tests. Width is row width versus walls and door arcs. Depth is screen-to-wall space versus occupied chairs, recliner throw, and the access path.
- Sightlines and neck comfort are different checks. Clear the lower picture first; then check the angle to the screen center.
- Draw occupied and fully reclined footprints on a plan, then one straight side-view line from the back-row eyes to the image bottom, before you decide whether to raise the rear row.
Where should the primary seat go?
Start with one chair, not a row count. CTA/CEDIA-CEB23-B tells you to size the screen from the primary seating position. It also says viewing distance depends on the image’s resolution.
Dolby wants that seat facing the screen directly, as close to the centerline as you can keep it. A seat off-axis, meaning away from that centerline, sees the picture at an angle. Keep extra chairs near the centerline when you can.
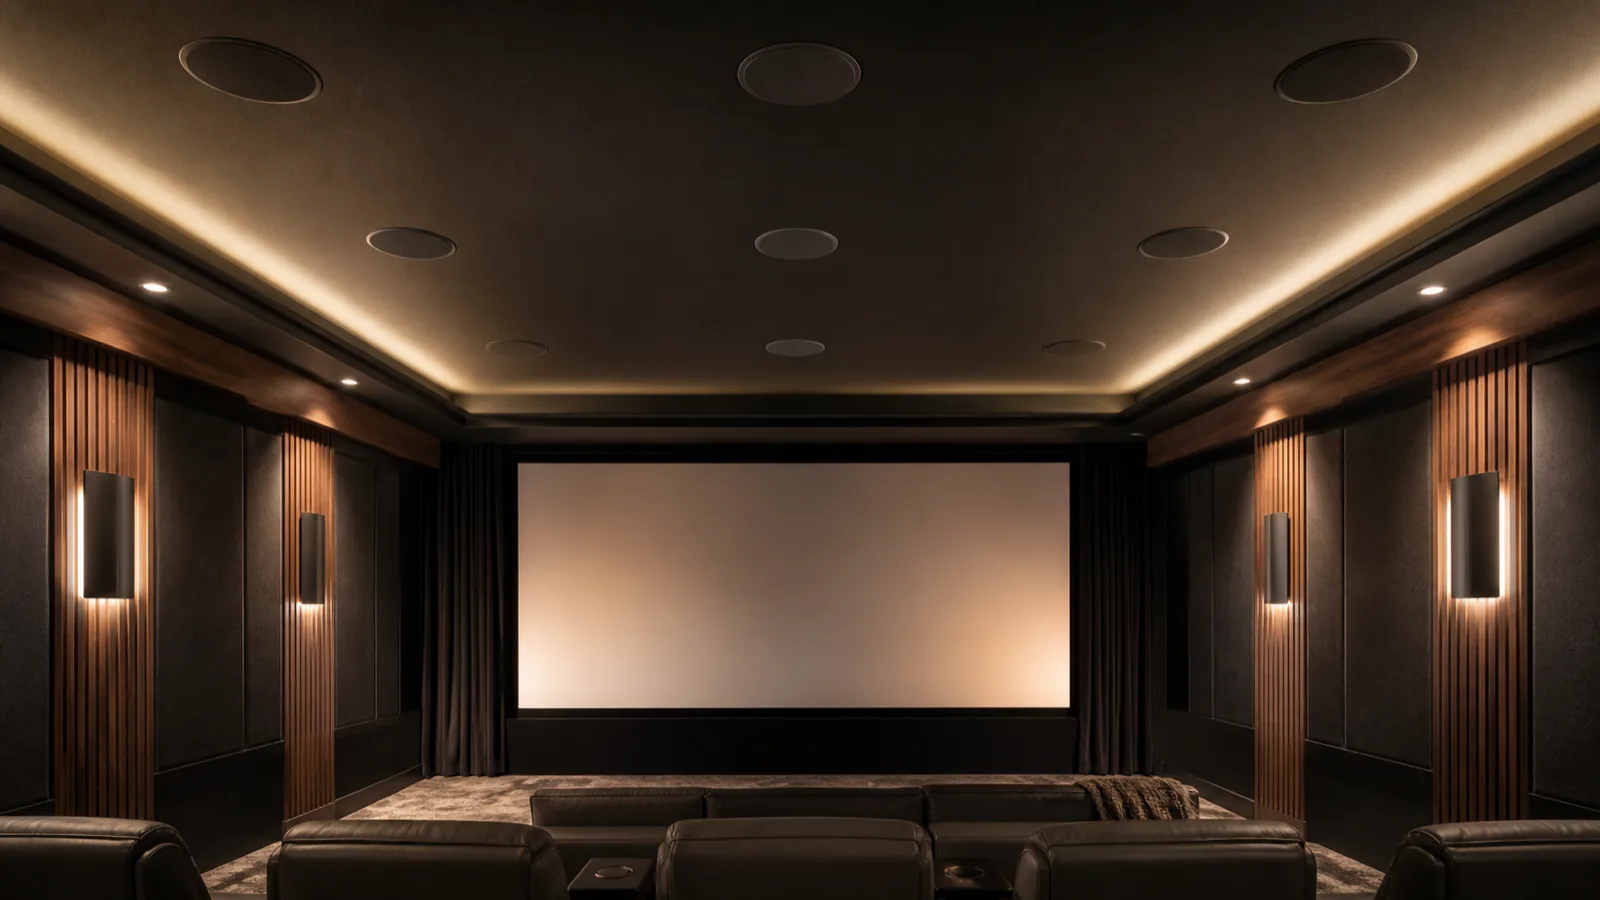
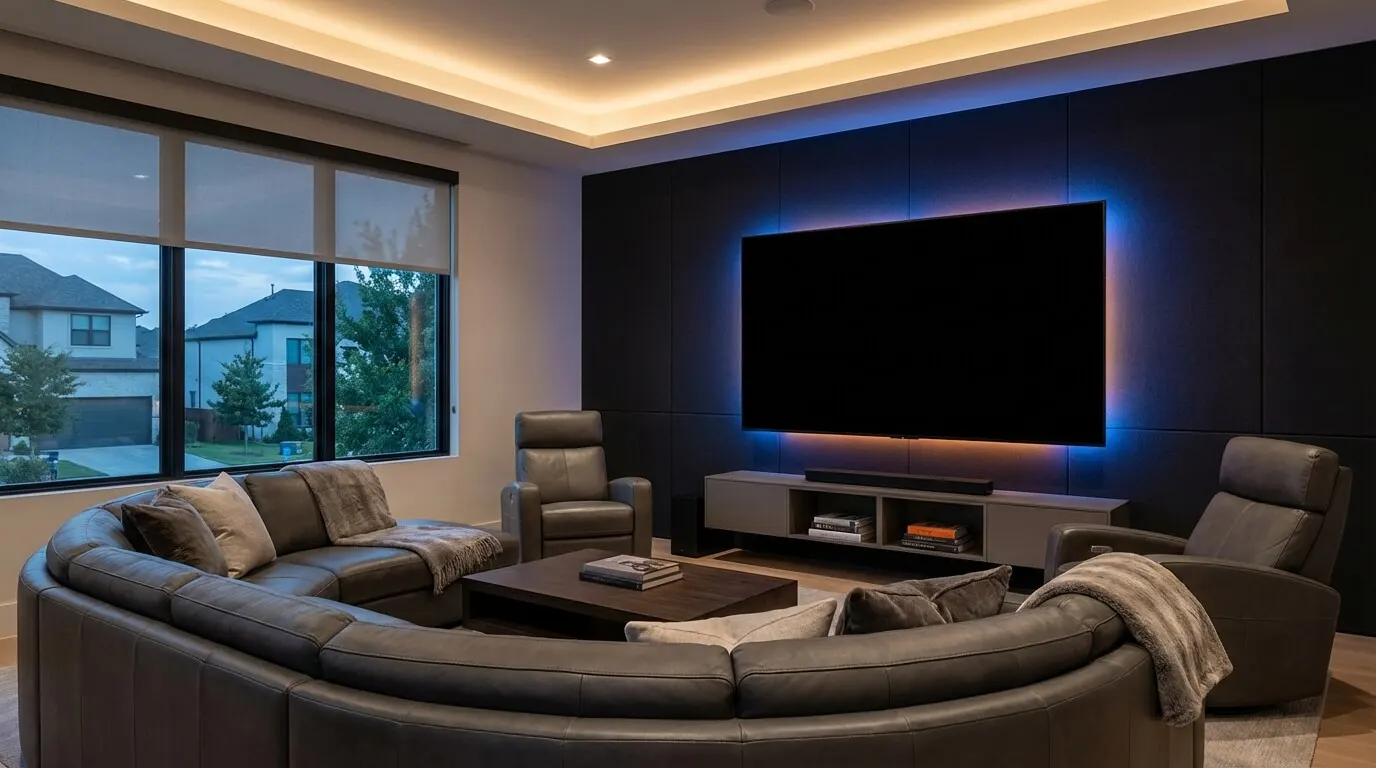
If the room still has to work as a living room, treat a framed platform as optional construction, not the next required step. Whether the room is a dedicated cinema or a shared living space is covered in media room versus home theater; the design guide covers broader room planning.
How far from the screen should you sit?
Dolby’s setup page gives a formula: viewing distance in inches divided by 1.5 equals the screen diagonal. Their worked line is 82.5 inches divided by 1.5, which is a 55-inch screen.
The same page flips the formula for a screen you already own. Multiply the diagonal by 1.5 to get the sitting distance.
| Screen diagonal | Dolby viewing distance |
|---|---|
| 42 inches | 63 inches (~1.6 m) |
| 55 inches | 82.5 inches (~2.1 m) |
| 65 inches | 97.5 inches (~2.5 m) |
| 75 inches | 112.5 inches (~2.9 m) |
| 85 inches | 127.5 inches (3.2 m) |
Example: a 75-inch screen. 75 × 1.5 = 112.5 inches from the primary seat to the picture.
Sit too close and you may have to move your head to see the whole picture. Sit too far and the image can feel small for the room.
That 1.5 multiplier is one starting preference. How close it feels still depends on how wide you like the picture, what resolution you actually watch, and whether the image is a TV shape or a wider movie shape. Sit at the Dolby number first, then move only if the picture is too wide or too small for how you watch.
THX gives a different viewing-distance recommendation on its living-room page. For 4K or UHD sets it says to divide screen size by .835 to get the ideal maximum gap, in inches, between the couch and the set. Dolby’s 112.5-inch start is farther than that THX maximum. These are two different published recommendations: Dolby’s is a starting distance in its home theater setup guide, and THX’s is a maximum for 4K viewing in a living room. Mark both seat positions with tape and sit at each with the same screen before you choose. The design guide already draws its viewing-distance line with that THX 4K rule.
The screen-size tool works the other way round: keep the screen shape and viewing angle fixed, enter a seating distance, and it returns the image width, height and diagonal that fill that angle from that seat.
Complimentary phone consultation
Planning a theater or media room?
Tell us the room and how you like to watch. The first step is a phone call with no obligation, and the written proposal is yours to keep.
No obligation · We aim to respond within one business day
When does a second row need a riser?
Dolby asks you to keep extra viewers as close to the sweet spot, the reference listening position, as you can.
THX suggests a line of sight 15 degrees or less above or below the screen center. THX wrote this for a living-room TV. Use it to check neck angle to the screen center. Headrest clearance is a separate sightline.
Clearing the screen center is not enough. From the occupied back-row chair, look at the visible image, including its lower edge. If the front occupant’s head or headrest covers subtitles, a scoreboard, or the bottom of the picture, the back row cannot see the full image. Check that with the front chair upright and fully reclined.
Choose one row if everyone can sit on or near the centerline at the Dolby distance.
Choose two rows if guests will sit behind the first row, you can still keep them near that sweet spot, the lower picture stays visible from the occupied back chairs, and a path still works in the dark.
A platform is worth considering after the occupied-chair test shows the lower picture is blocked, and after you have checked that a raised row plus an open recliner still fit under the ceiling. The worksheet below checks only what the back row can see. Before anything is built, an installer or builder confirms the platform’s structure, steps, standing headroom and any code requirements.
What should you measure before you build a platform?
Tape the room and sit in the chairs you will actually use. Recliner throw is the chair’s fully extended footprint; get it from the dimensional drawing, then confirm with a full recline before anyone cuts lumber.
| Measure | How to take it | What it decides | Source |
|---|---|---|---|
| Screen diagonal | The display you own or plan to buy | Starting sitting distance | Dolby |
| Primary-seat distance | Diagonal × 1.5, then the Dolby table | Where the reference chair goes | Dolby |
| Primary seating position | The chair you size the image from | Which seat the layout is built around | CTA/CEDIA-CEB23-B |
| Room width and depth | Tape wall to wall, screen wall to back wall | Whether another row and a path fit | Measure in the room |
| Screen-bottom height | Floor to the bottom of the visible image | Whether the lower picture is blocked | Measure in the room |
| Screen-center height | Floor to the middle of the image | Neck angle to the picture center | THX |
| Each row’s distance from the image plane | Tape from the screen surface to each occupied seat | Depth check and the side-view drawing | Measure in the room |
| Complete row width | All chairs in the row, including arms | Width check against walls and door arcs | Measure in the room |
| Seated eye height | Floor to your eyes in the occupied chair | Where the sightline starts | Measure in the room |
| Front occupant’s head height | Floor to the top of the occupied head | What the back row has to look over | Measure in the room |
| Front-row headrest height | Floor to the top of the empty headrest | Obstruction when the rest sits above the head | Measure in the room |
| Recliner throw | The chair’s fully extended footprint | Whether the next row or the wall is hit | Chair drawing, then a full recline |
| Finished ceiling height | Floor to finished ceiling | Whether a raised row and an open recliner still fit | Measure in the room |
| Door swings and access path | Walk the route with the chairs fully open | Whether people can get in and out in the dark | Measure in the room |
Use the numbers in this order. Keep width and depth on separate sketches. Do not add depth figures to row width, door arcs, or walking space.
First, place the primary seat on the centerline at the Dolby distance.
Second, test width and depth as two checks. For width, compare the complete row width plus side door arcs with the room width. For depth, lay the occupied chair footprints and the fully reclined footprints on a plan, then add the access path and door swings along the screen-to-back-wall line. If the second row overlaps a door, a walkway, or the front chair’s open footprint, it does not fit in this room.
 plan  (screen on the top wall; schematic, not to scale)

 +---------------------- screen ----------------------+
 |  door )                                            |
 |                                                    |
 |     [occ][occ][occ]     front occupied footprint   |
 |     [=======reclined=======]                       |
 |                                                    |
 |     ======== access path ========                  |
 |                                                    |
 |     [occ][occ][occ]     back occupied footprint    |
 |     [=======reclined=======]                       |
 +----------------------------------------------------+

 Width check: row width + side door arcs  vs  room width.
 Depth check (do not add this sum to the width):
   screen → front row, fully reclined (footrest tip to seat back) → gap
   → back row, fully reclined → access path → back wall.
   Measure every chair edge from the same screen plane.
Third, sit in the occupied chairs, upright and reclined. Draw the side view below. Left to right the order is screen, front-row head or headrest, then back-row eyes. One straight line runs from the back-row eyes to the image bottom. If the front head or headrest sits above that line, the back row cannot see the full image.
Measure each possible obstruction separately: the front viewer’s head and the front headrest, each with its height and its horizontal distance from the screen plane, in both the upright and the reclined position. Measure the back-row eyes the same way. Do not reuse the front viewer’s eye distance for the head or headrest. Check every obstruction against the sightline; a lower headrest closer to the screen can block the line even when a taller head farther back clears it. A raise has to clear all of them.
Fourth, with that sightline clear, check neck comfort to the screen center. THX suggests staying within 15 degrees above or below that center. Keep that check after the lower-edge test, not instead of it.
A platform, a lower front headrest, or dropping the second row is a construction choice after the lower-edge test fails. Do not convert the 15-degree comfort check into a riser height.
Example: a 75-inch screen, with the primary-seat eyes near Dolby’s 112.5-inch starting distance. After you place a second row behind the front chair’s fully reclined footprint, tape the five heights and distances in the worksheet and run the arithmetic. The raise it produces is for those taped numbers only.
 Sightline worksheet  (hypothetical taped numbers, not a standard height)

 You taped:
   image bottom B          = 24 in  (floor to visible image bottom)
   front headrest H        = 44 in  (the one obstruction in this example)
   back-row eyes E         = 40 in  (same chairs, same floor)
   headrest at Dh          = 120 in (screen plane to the headrest)
   back-row eyes at Db     = 180 in (screen plane to the back-row eyes)

 Sightline height where it passes the front headrest:
   y(Dh) = B + (E − B) × (Dh / Db)
         = 24 + (40 − 24) × (120 / 180)
         = 24 + 16 × 2/3
         ≈ 34.7 in

 H is 44 in, above the line, so the front headrest blocks the
 lower picture. Shortfall ≈ 44 − 34.7 = 9.3 in.

 Raise the back-row eyes by R until the line passes above H:
   24 + (16 + R) × 2/3 > 44
   16 + R > 30
   R > 14 in

 At exactly 14 in the line only touches the headrest, so a raise has
 to be more than 14 in for these numbers, with some margin, and then
 checked with people in the chairs. Alternatively, a front headrest
 below about 34.7 in clears the same floor-level back row.
 Neither figure is a recommended riser height.
 Confirm the raised chairs still fit under the ceiling with recliners open.
How do walkways and speakers constrain the seats?
Leave a path people can use in the dark that does not cut through the front speakers or park someone in a seat that blocks the center channel. Walk the path with the chairs fully open. If you cannot pass without stepping on a footrest, the row does not fit yet.
Dolby’s 5.1.2 overhead-speaker setup starts from a central seating point. Ear-level speakers aim at that point and sit at seated ear height unless the guide says otherwise.
Dolby’s setup guide describes pairs of speakers forming triangles with the listener, each pair kept an equal distance apart. Extra seats should stay near that point. After the chairs are in place, sit in each occupied seat, upright and reclined, and check that the front and surround speakers still have a clear path to that listener. If a walkway or a reclined headrest blocks a speaker, move the chair or the speaker and check again.
Overhead aiming is a separate drawing. Use the Atmos layout guide for the height layer once the primary seat is fixed, and the Dolby Atmos layout calculator to check overhead positions against your room dimensions and seat. Soft walls and echo are a third job; the acoustics guide covers that after the chairs are placed.
When to call an installer
One row of existing furniture, on the centerline, at that sitting distance, is a job you can finish with a tape measure. Arranging two rows, building a platform, or aiming speakers from the seats is the work to confirm in the room before anyone cuts lumber.
Speaker cable, screen-wall framing, and acoustic backing have to land before drywall — after that, every improvement is a patch.
Home theater installation is the path for that walkthrough. The initial phone consultation is complimentary and carries no obligation.
FAQ
How tall should a home theater riser be?
Tape the sightline with the worksheet above; the raise it produces is not a recommended height.
How far should I sit from a 75-inch screen?
Dolby’s table lists 112.5 inches for a 75-inch screen, the same figure as 75 multiplied by 1.5. THX’s 4K living-room page treats screen size divided by .835 as an ideal maximum couch-to-set gap. Start at the Dolby distance if you want that picture size, then compare both distances in the screen-size tool.
Do I need two rows of seats?
Only if people will sit behind the first row and you can still keep them near the sweet spot, the reference listening position. If everyone fits on the centerline at the Dolby distance, one row is the simpler layout. A second row also has to clear the lower picture and leave a path you can walk in the dark.
Sources
- Home Theater Video Design — CTA/CEDIA-CEB23-B (opens in a new tab) — accessed September 30, 2026
- Home Theater Setup Guide — Dolby (opens in a new tab) — accessed September 30, 2026
- Where and how should I position my TV — THX (opens in a new tab) — accessed September 30, 2026
- 5.1.2 Overhead Speakers — Dolby (opens in a new tab) — accessed September 30, 2026
Complimentary phone consultation
Ready to plan your own theater?
We cover the room, the screen and sound you want, and what a professional design and calibration involves. Then you get a written, line-item proposal before anyone books a crew.