
Smart Home Comfort 2026: 15 Ways Tech Enhances Life [Guide]
No obligation · We aim to respond within one business day
Complimentary phone consultation
Talk it through with a local designer. Written proposal before anyone books a crew.
No obligation · We aim to respond within one business day
Smart home comfort comes from coordinating temperature, lighting, shades, and air quality around how you use each room. Start with the discomfort you want to fix, then choose controls that work together and remain easy to adjust by hand. A useful system reduces repeated adjustments without making guests learn an app or forcing everyone to follow the same routine.
Key pointsLink to this section
- Start from the discomfort in a specific room, then choose controls that work together.
- A bedroom sensor reading does not create independent airflow control in that room.
- An air-quality alert is monitoring only; it does not mean ventilation equipment is installed.
- Buy comfort features for daily use, not for an assumed resale premium.
Which devices should you buy first for daily comfort?Link to this section
The following 15 improvements are choices, not a required shopping list. Keep the ones that solve a problem in your home. Leave working equipment in place when replacing it adds no useful control.
Common first purchases are a thermostat schedule, lighting you can dim from the wall, and shades on troublesome glass. Choose among them by the room's problem: afternoon glare calls for a shade; an awkward bedtime routine calls for a scene, meaning a saved group of device settings. Decide what a controller must control before buying a larger one, so the controller fits the scenes it must run.
Buy a new device only when you can name the daily task it improves. A changing-color lamp may be fun, but a reachable bedside control may matter more to the person using the room.
Complimentary phone consultation
Curious what lighting, shades, or whole-home control would feel like in your house?
Describe the rooms and the routines you want. A complimentary phone consultation is the first step — no obligation.
No obligation · We aim to respond within one business day
How can climate control and air-quality monitoring make rooms more comfortable?Link to this section
1. Put temperature sensing where you spend time. The ecobee Smart Thermostat Premium includes a SmartSensor that detects room occupancy. Consider that approach when the thermostat's location does not reflect the room you use. Ask the heating and cooling contractor how the sensor will influence the system; don't buy it on the assumption that sensing a bedroom creates independent airflow control there.
2. Set a schedule you can override. Start with the temperatures your household already finds comfortable. Test waking, leaving, returning, and sleeping settings before enabling automatic occupancy changes. Someone working quietly at home should be able to hold a temperature without repeatedly fighting the schedule. Before replacing a thermostat, have its compatibility with the existing heating and cooling equipment checked.
3. Pair an air-quality alert with an action. The ecobee model provides air quality monitoring and alerts. That is a monitoring feature, not proof that ventilation equipment is installed. EPA advises reducing pollution at its source and explains that most heating and cooling systems do not mechanically bring fresh air indoors. Ask what equipment will respond to an alert and who will check its operation.
Humidity deserves its own check when the room feels damp despite a comfortable temperature. These are EPA moisture-control guidelines, not thermostat settings guaranteed to suit every house.
| What to check | EPA guidance | Buying decision |
|---|---|---|
| Indoor relative humidity | Ideally 30–50% | Measure the room before paying for added humidity controls. |
| Upper humidity guidance | Keep below 60%, if possible | If readings stay above this, ask for a moisture assessment rather than buying another sensor. |
| Condensation on windows, walls, or pipes | Dry the surface and reduce the moisture source | Include the cause of the moisture in the repair scope; an app alert alone does not address it. |
Which lighting changes create a comfortable room?Link to this section
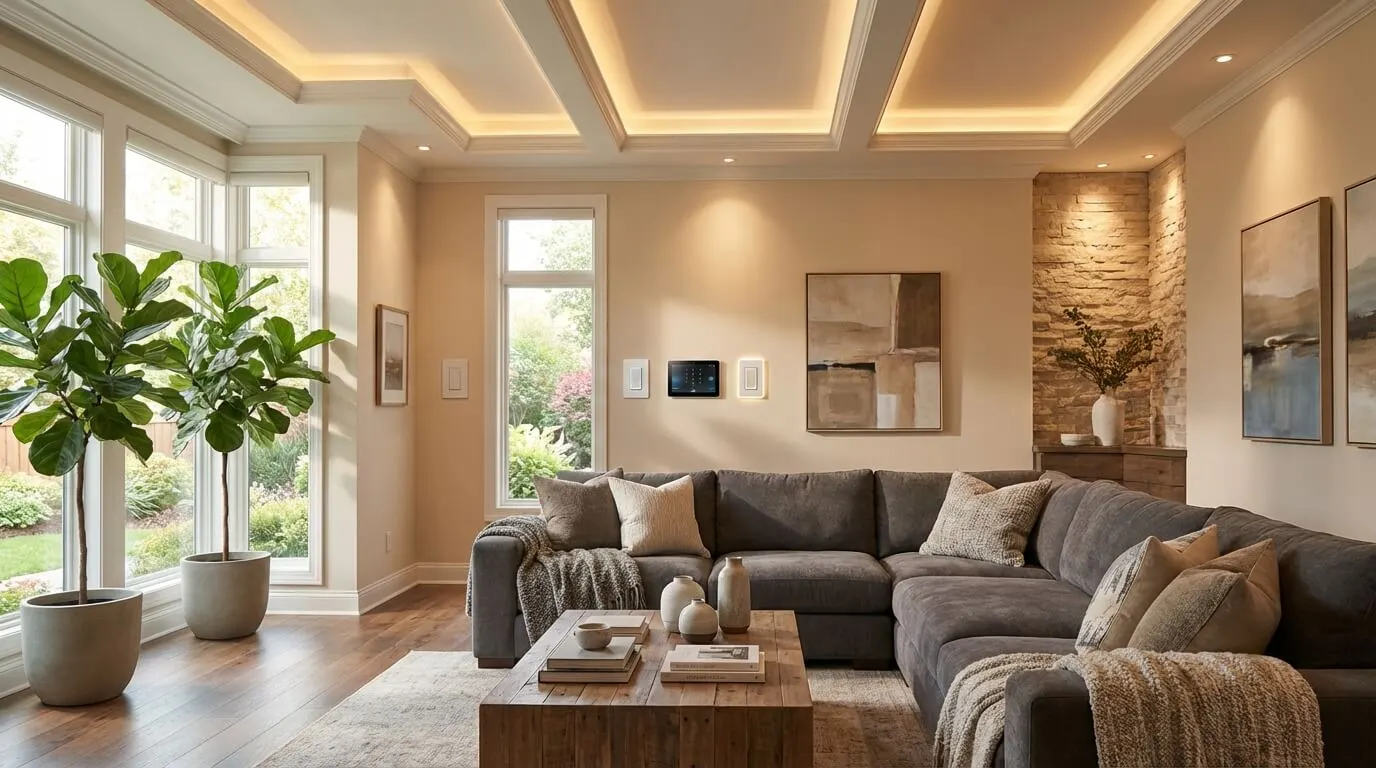
4. Keep dimming at the wall. Lutron's Caséta Diva Smart Dimmer Switch provides paddle control and a light bar for dimming compatible lamps. It is an example of choosing a familiar control surface. Ask for a demonstration with your proposed bulbs at the lowest brightness you expect to use. Reject a combination that flickers or goes dark before reaching a useful reading level.
5. Separate task lighting from background lighting. Keep the counter or reading chair bright enough for its job while reducing surrounding light. Where the wiring allows it, keep those circuits on separate controls. For dinner, leave enough light to serve food and move around; a scene does not need an arbitrary dimming percentage to work. The Lutron lighting service page covers planning the controls.
6. Make nighttime controls easy to find. Choose a bedside button or a low-level route light if crossing a dark room is the nuisance you want to remove. Test the light from the pillow as well as the doorway. If you want the color of white light to change, request a fixture-and-control demonstration before buying. Don't pay for a sleep promise when the decision you can actually test is brightness, color, glare, and ease of use.
DIY is fine for trying a plug-in lamp control when you can follow its instructions and ratings. For a wall dimmer, use an electrician if you cannot identify the wiring and safely perform the installation. Smart lighting is not worth a room-wide replacement when an ordinary dimmer already gives you the adjustment you need.
How should shades work with lighting and climate?Link to this section
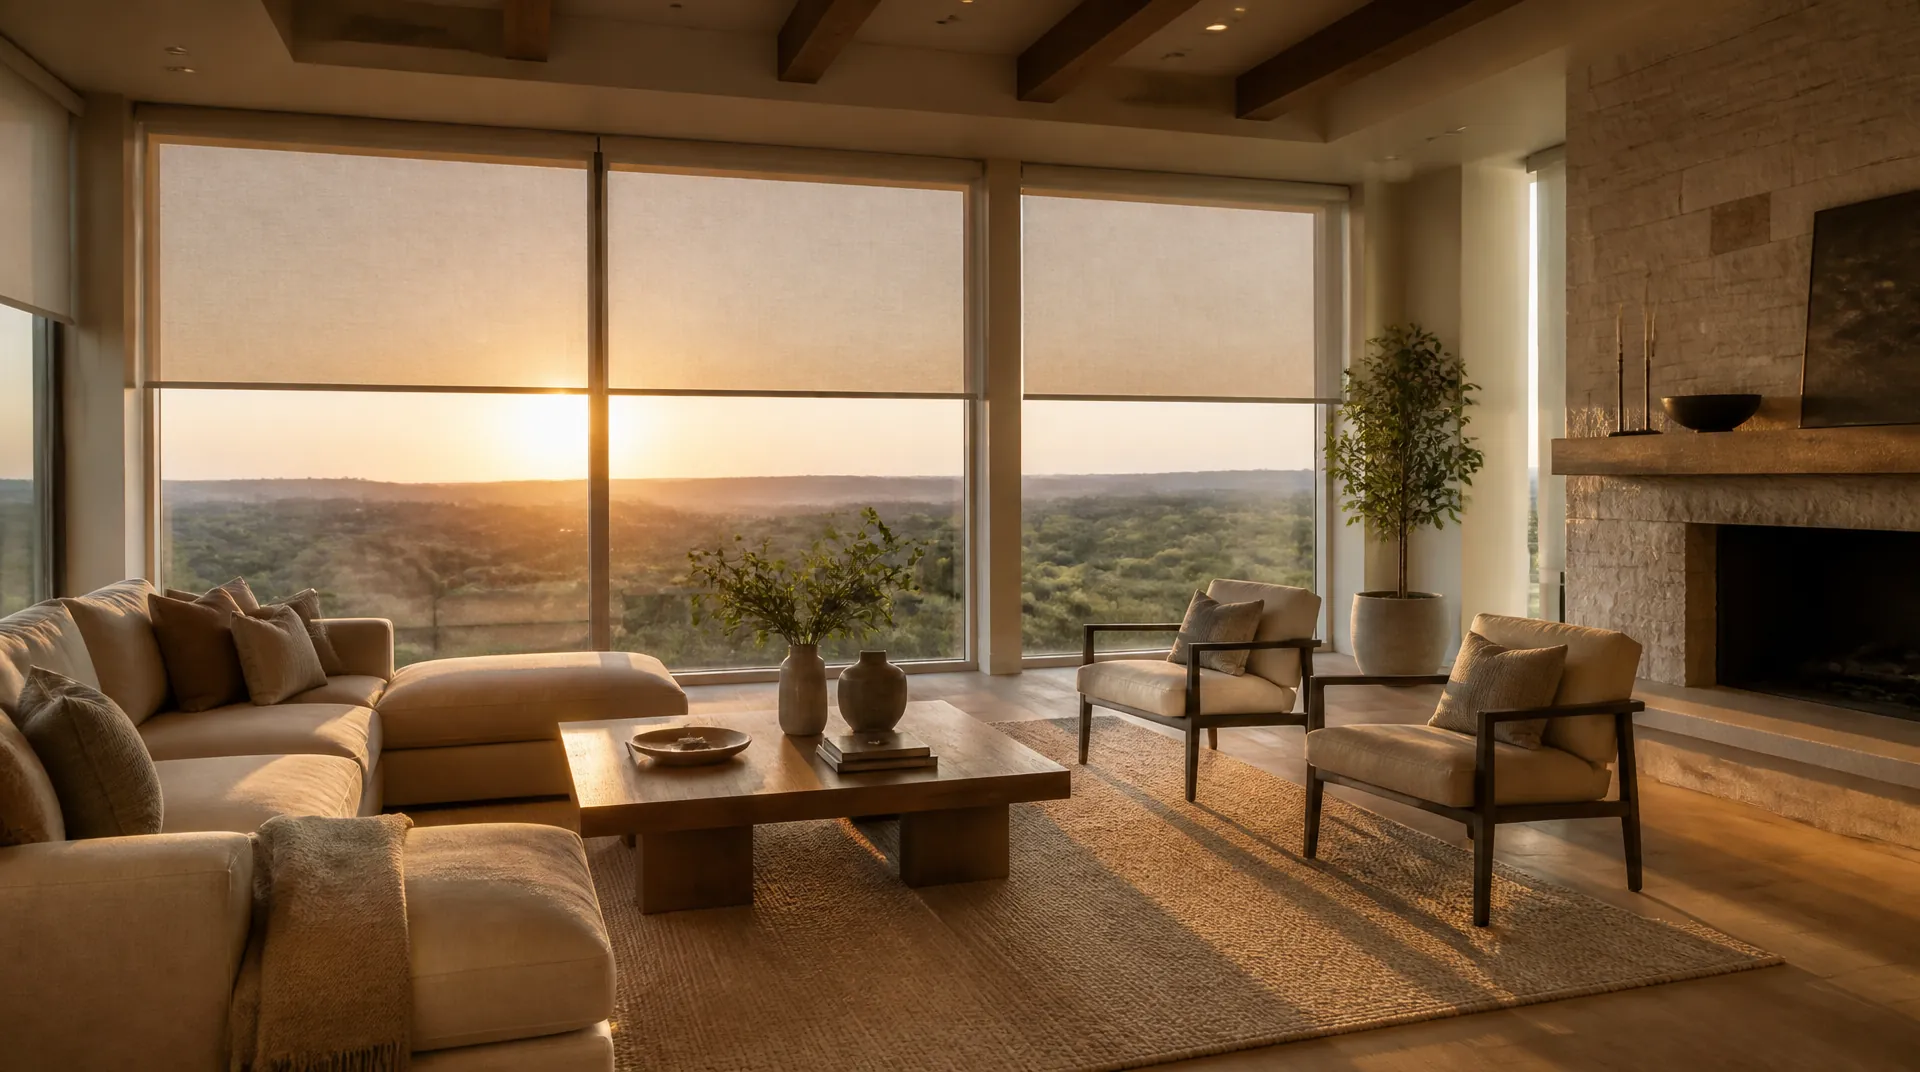
7. Schedule shades around the glare you observe. Sit at the desk or sofa when the problem occurs, then note which windows are involved. Request a shade schedule for those openings, with an easy override when you want the view. Avoid prescribing the same closing time throughout the house. Check the resulting room before adding a matching thermostat change.
8. Choose privacy separately from the daytime view. Have the supplier demonstrate the proposed fabric with the room lit after dark. A daylight sample alone is not enough to approve it. Check how side gaps and mounting affect the result, especially in a bedroom. The motorized shades and blinds guide covers the fabric and power choices in more detail.
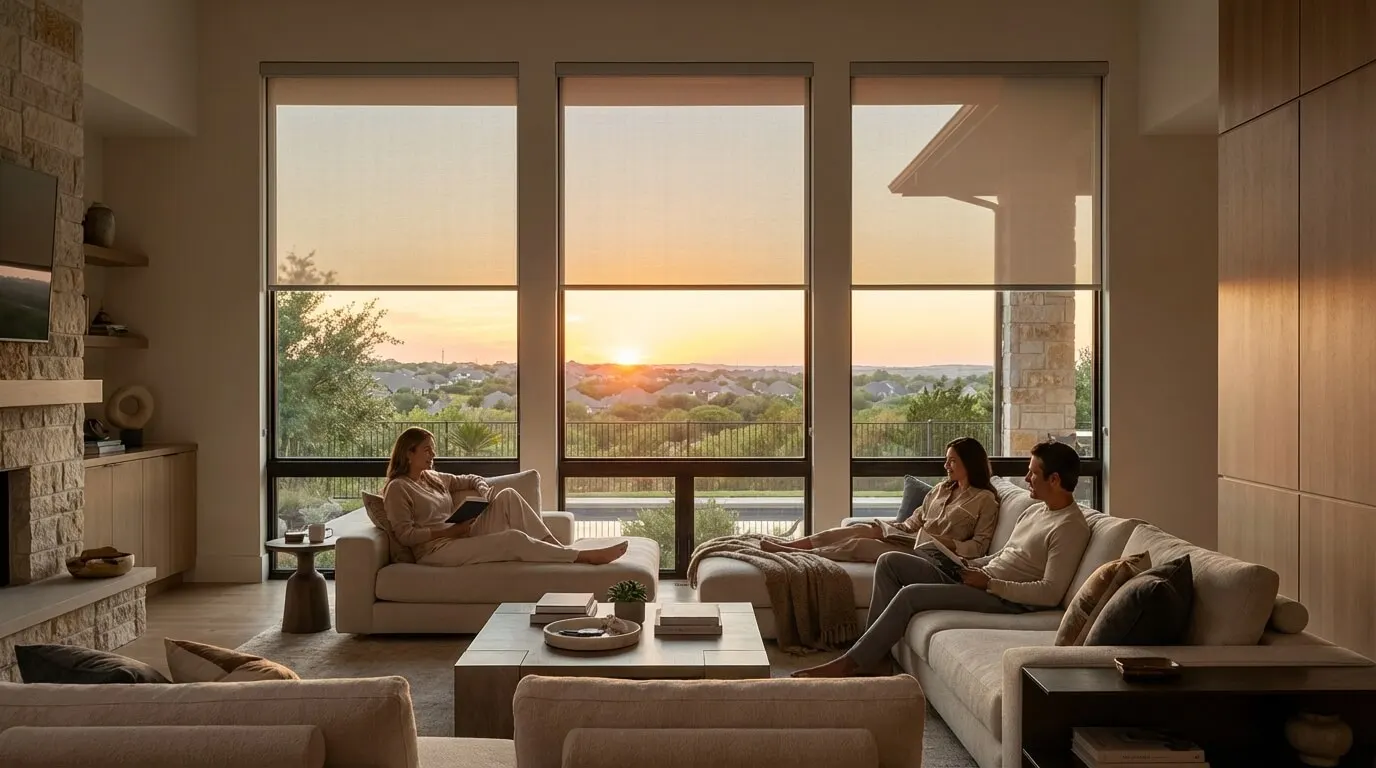
9. Make the light-and-shade scene comfortable from your seat. Example: a proposed reading scene lowers the shade on the bright window while leaving the reading lamp on. Try it from the chair, then check that someone can raise the shade without cancelling the lamp setting. Keep the manual shade control easy to reach if you seldom adjust it; motorization is not automatically worth the extra equipment.
How do homeowners orchestrate devices into useful scenes?Link to this section
Home orchestration means coordinating devices under shared rules. Write the action in plain language, identify what triggers it, and decide how to cancel it. Start with a button-triggered scene before making it automatic. If its behavior is annoying when requested, putting it on a schedule won't fix it.
10. Write a bedtime scene with exceptions. Example: Goodnight lowers the bedroom shades, changes the temperature setting, and turns off common-area lights while leaving a reading lamp available. Decide what happens when someone is still awake downstairs. Keep door locking and alarm changes separate until their behavior has been agreed and tested; a successful lighting command is not confirmation that a door locked.
11. Give arriving and staying home different behavior. An arrival scene can request your preferred lights and shade positions. A stay-home setting should let someone keep working without an away routine interrupting them. If you want music in the scene, decide where it should play and how to stop it without changing the lights. Speaker distribution belongs in the whole-home audio and video plan.
12. Keep a manual way to run the room. Voice can be useful when your hands are occupied, but test the command from where you will speak. Retain a physical control for guests and for times you want quiet. See the whole-home voice control guide for microphone and platform choices.
Matter is a smart-home connectivity standard designed for devices from different brands to work together locally. When choosing products, ask the seller to demonstrate your exact scene on the proposed controller. A connectivity label should start the compatibility check, not end it. The smart-home hub guide explains that buying decision. When the proposal names a controller, ask for that demonstration on the named system. If it names Savant, ask the demonstration to cover lighting, music, and video in every room you plan to automate.
Digitalholics describes its handover this way: Before we call the job done, we sit with the household and run the scenes you use every day. Bring the person who will actually use the bedside control to that test.
What should you budget, including ongoing costs?Link to this section
These are earlier Frisco-area planning allowances in US dollars. They are not current Digitalholics prices or confirmed packages. A current price comes from a written proposal after a room measurement. Compare the scope descriptions before comparing totals.
| Earlier comfort level | Earlier installed allowance, USD | Earlier scope description | Decision to make now |
|---|---|---|---|
| Entry / DIY | $2,000 – $5,000 | Smart thermostat, basic smart bulbs, voice assistant, video doorbell | Choose the comfort task first; do not treat this as a minimum DIY spend. |
| Standard / Integrated | $15,000 – $40,000 | Central processor, multi-room audio, main-area lighting, automated shades, network | Ask which rooms and controls the proposal actually includes. |
| Premium / Luxury | $75,000 – $150,000+ | Full-home panelized lighting, motorized shading, climate and humidity integration, network, automation | Decide whether full-home coverage solves problems beyond the priority rooms. |
The earlier guide also allowed $3,000-$5,000 for network work and a $15,000-$25,000 range for a basic professionally installed system allowance. Those overlapping figures are not items to add to the table. Ask the proposal writer to identify any network work already included. Its $30 voice-device figure is retained only as an earlier accessory allowance, not a current price for a named product.
| Earlier ongoing cost item | Earlier annual allowance, USD | What to confirm before signing |
|---|---|---|
| Remote Monitoring | $300 – $600 | Devices covered, who receives alerts, and which work costs extra |
| Firmware Updates | Included in Service Plan | Earlier guide wording only; confirm inclusion and update responsibility in writing. |
| Subscription Fees | $100 – $300 | Which chosen features require subscriptions and who owns the accounts |
Ask for separate equipment, installation, programming, electrical work, and ongoing-service lines. If a proposed feature is optional, ask what stops working when its subscription ends. For a broader budget discussion, use the smart home automation cost guide.
Should you count on a resale bump?Link to this section
Do not budget on an assumed resale premium. Buy comfort features for their usefulness to you, and ask a local appraiser or real-estate agent to assess comparable sales before attaching a value increase to them. An installation cost is not evidence of the amount a buyer will pay.
Before selling, prepare an equipment inventory, identify what stays with the house, and arrange account transfer and removal of personal access. Keep instructions for the wall controls alongside the system information. Those are practical handover steps; they do not establish a return on investment.
What should you check before hiring anyone?Link to this section
13. Test the proposed outage behavior. Ask the installer to demonstrate what happens when internet access is unavailable, while local power and networking remain on. Try the wall lights, thermostat, shade controls, and saved scenes. Then ask separately about a power outage. Write the expected behavior into the scope instead of assuming that local control covers every connected service.
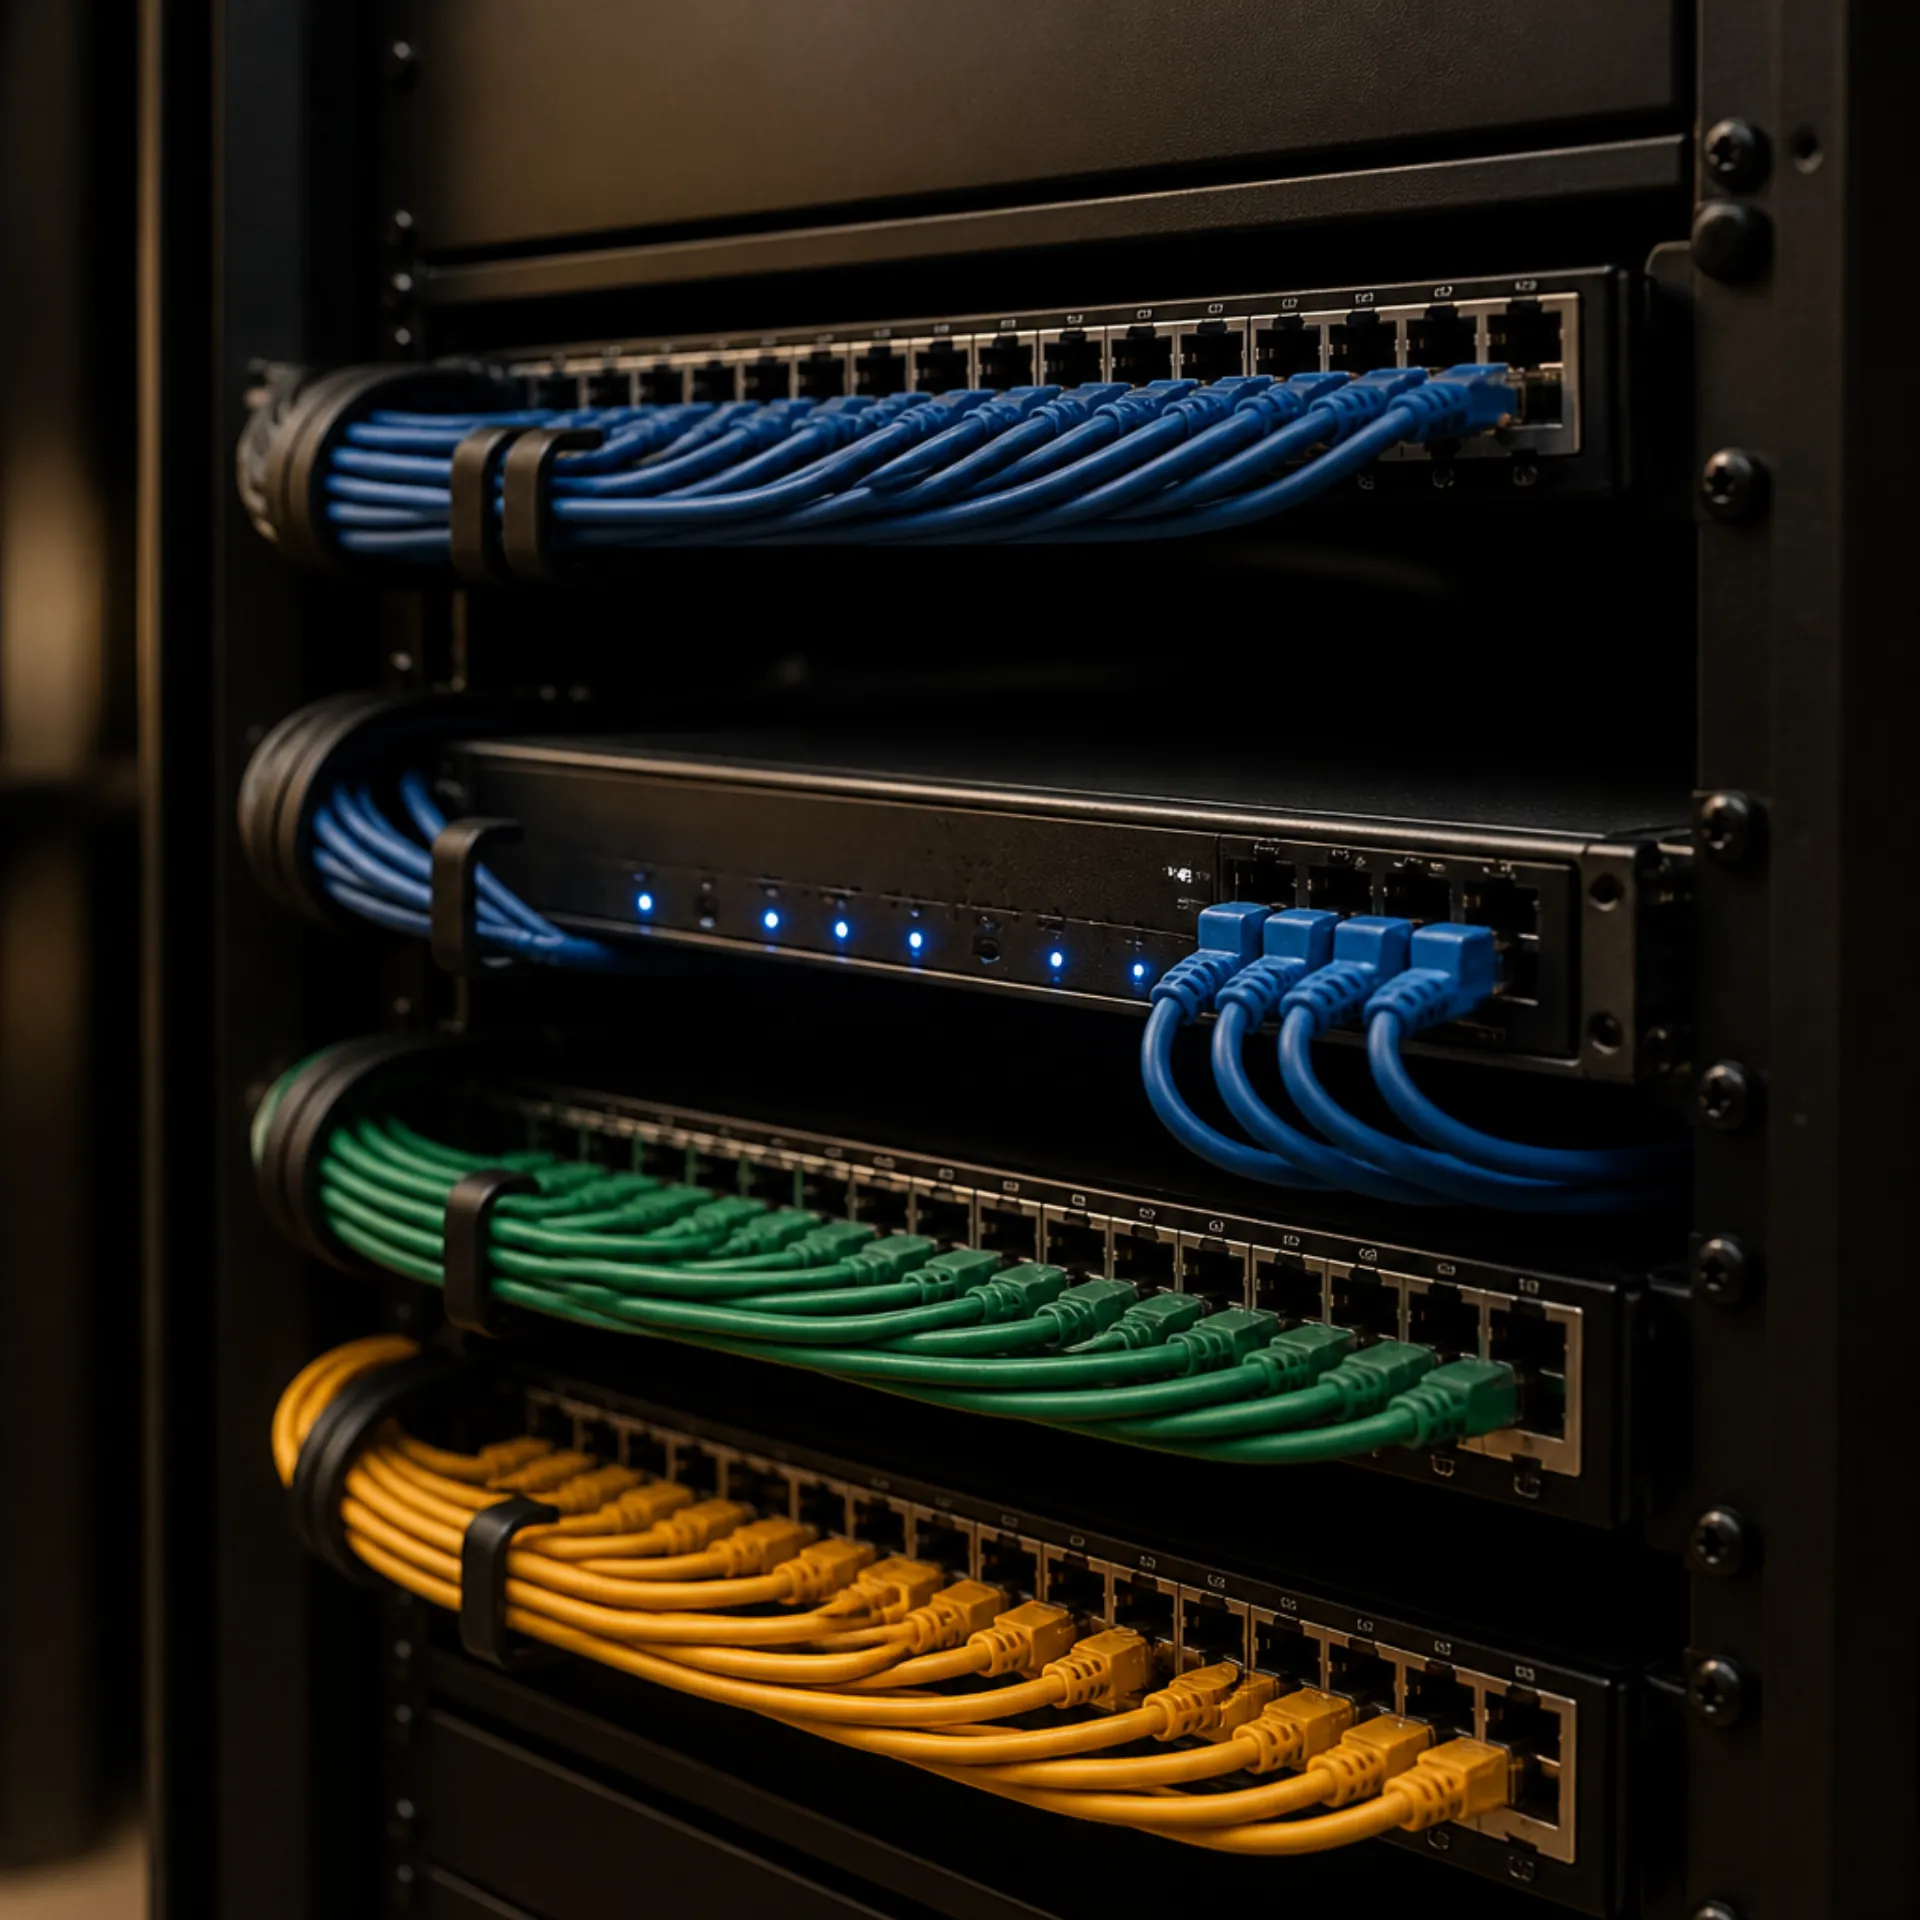
14. Make maintenance reachable. Check access to shade batteries, controllers, and network equipment before approving their locations. Confirm who can change a schedule and recover account access. If you are living in the house during the work, discuss which room remains usable during each phase.
15. Start with the room you can evaluate. Choose a pilot room where the problem is clear. We finish a room or a floor, then move on. Approve the controls after using them from the normal seating and sleeping positions, then decide whether to repeat the design elsewhere. There is little reason to automate an unused room just to make the equipment list consistent.
Use this checklist before requesting a proposal:
- Write each discomfort beside its room, time of day, and current manual workaround.
- Photograph existing controls and collect model information for equipment you want to keep.
- List the scenes you want, their exceptions, and the physical controls each person needs.
- Request a compatibility demonstration, an outage test, and a clear account-ownership plan.
- Separate required work from optional additions and identify recurring charges.
You can bring that checklist to a complimentary phone consultation.
When the checklist is ready, compare it against the smart-home service page before requesting a proposal.
SourcesLink to this section
Complimentary phone consultation
Ready to see how it would work in your home?
Start with a complimentary phone consultation. We map the rooms, the scenes you would actually use, and what integrates with what — then a written, line-item proposal before anything is scheduled.
No obligation · We aim to respond within one business day